Craft Your Own Kitchen Companion: Leveraging OpenAI Assistant, Image Generation, and Text-to-Speech
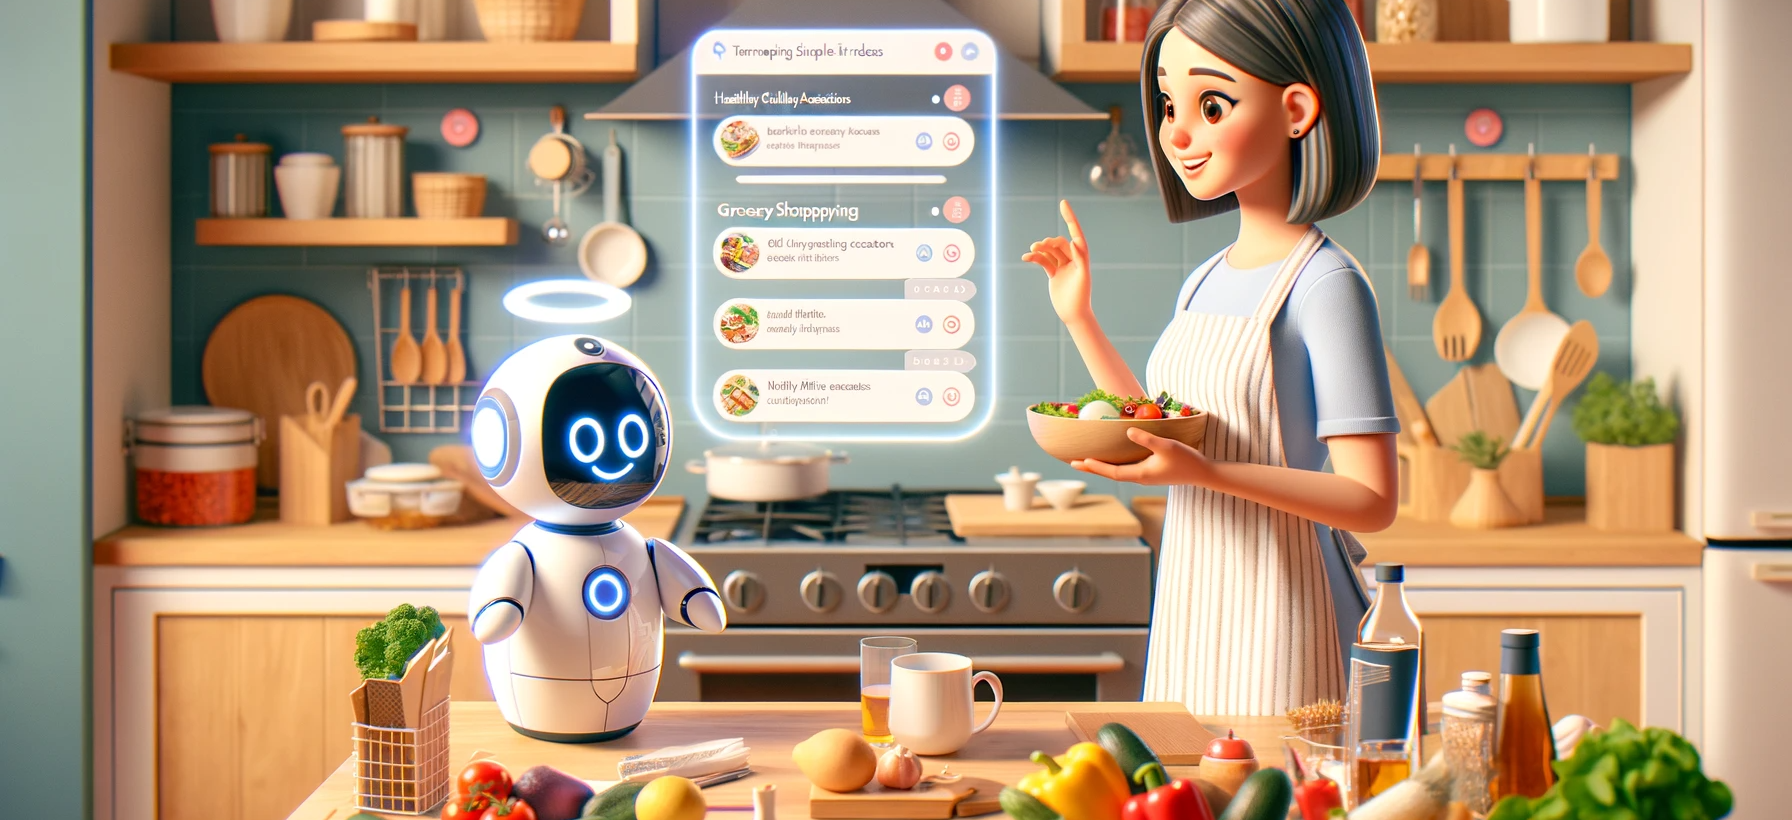
Building a kitchen companion using OpenAI's Assistant API with text-to-speech and image generation, showcasing a holistic approach to conversational AI with just a few lines of code.
TL;DR
OpenAI unveiled its Assistant API during its very first developer conference-OpenAI DevDay. This marked a significant addition to the suite of tools and models available for building conversational AI, a domain in which I’ve been actively engaged.
Although I have used other frameworks, tools and models to build customized Assistant in the past (check out my previous posts Food QnA Chatbot : Help Answer Food Related Questions from Your Own Cookbook and Build On-Device QnA with LangChain and Llama2), intrigued by the new capabilities of the Assistant API, I decided to integrate it into a new project. This sample project is a refreshed demonstration of a simple Cooking Assistant, leveraging not only the Assistant API but also incorporating additional functionalities such as Text-to-Speech and Image Generation, showcasing a holistic approach to building conversational AI systems with only a few lines of code.
Get inspired by the latest from Open AI DevDay with my project on ![]() ? Ready to unleash your creativity? Start building your own generative AI-powered experience today, join the forefront of AI innovation, and let us make AI for everyone!
? Ready to unleash your creativity? Start building your own generative AI-powered experience today, join the forefront of AI innovation, and let us make AI for everyone!
The Crafted Product Experience
- Direct Communication:
- Purposefully address user (in this case, it will be “Han”) directly in all correspondences, ensuring each interaction is clear and personalized.
- Resource Utilization:
- Utilize information solely from user’s provided cookbooks when responding to his/her inquiries, ensuring responses are relevant and accurate.
- Requests for Visual Representation:
- Initial Acknowledgment: When user requests a visual representation of a recipe, promptly reply with: “Absolutely! A delightful visual preview of the recipe is coming up shortly. Please hold on!”
- Action Step: Subsequently, craft a detailed and imaginative textual prompt to aid in visualizing the specified recipe.
- Recipe Responses:
- Introduction: Initiate responses to recipe queries with: “Here’s a recipe I discovered!”
- Summary Style: Summarize the recipe succinctly using bullet points for easy comprehension.
- Summary Length: Aim to keep the summary under 150 words to maintain brevity and focus.
- Handling Limitations and Concluding Respectfully:
- Addressing Unavailability: If user’s questions cannot be resolved with the cookbooks at hand, or if an appropriate recipe is not available, inform the user politely about these constraints.
- Concluding Interactions: End conversations with respect and professionalism, ensuring a positive and courteous closure.
Set Up the Development Environment
The provided sample project on GitHub acts as a prototype to illustrate the product experience described previously. Follow these steps to set up your local development environment:
- Clone the Sample Project: Use the following command to clone the project from GitHub:
1
git clone https://github.com/bearbearyu1223/assistant_api_playground
- Create a Virtual Environment: Navigate to the cloned project directory and create a Python virtual environment named
cooking_assistantby executing:1
python3 -m venv cooking_assistant - Activate the Virtual Environment: Activate the newly created virtual environment with:
1
source cooking_assistant/bin/activate - Install Required Libraries: Inside the activated virtual environment, install the required libraries using the command:
1
pip3 install -r requirements.txt
- Set Up Environment Variables: Create a
.envfile in the project root directory. Add your OpenAI API key to the file as follows:1
OPENAI_API_KEY=<Your API KEY>
Run the Application
Simply add your own cookbook in PDF under the directory cookbook, or just play with the existing cookbook uploaded with my sample project. Engage with the project interactively by issuing food preparation and cooking queries. Initiate the application with the following command:
1
python main.py
To terminate the program, simply use Ctrl + C. Below is an example of a conversation generated by running the application.
| Turn ID | User Query | Assistant Response | TTS Playback | Notes on Tested User Query |
|---|---|---|---|---|
| 0 | 👩🏻🍳: Hi there, Thanksgiving is coming! I would like to have some ideas for cooking! | 🔮: Thanksgiving is a great occasion to prepare a feast. Here are some main dish ideas inspired by the contents of the “Deliciously Healthy Dinners” cookbook that could suit a Thanksgiving dinner: [Main dishes listed] | This query is designed to evaluate the clarity of the Assistant’s defined role and the effectiveness of its execution, specifically in tasks such as generating creative ideas for holiday cooking. | |
| 1 | 👩🏻🍳: How to make Cornbread-Crusted Turkey? | 🔮: Here’s a recipe I found for Cornbread-Crusted Turkey from your cookbook: [Recipe details] | This query seeks to assess the Assistant’s ability to accurately extract relevant information from the user’s cookbook and succinctly summarize it. | |
| 2 | 👩🏻🍳: Thanks, what kind of salad will pair nicely with it? | 🔮: An Autumn Salad would pair nicely with Cornbread-Crusted Turkey. Here’s the recipe from your cookbook: [Recipe details] | This query is intended to assess the Assistant’s ability to provide useful responses to related follow-up questions | |
| 3 | 👩🏻🍳: Can I see a visual of the autumn salad with the cornbread crusted turkey? | 🔮: Absolutely! Prepare for a delightful visual preview of the recipe, coming up shortly. Please hold on! | This query aims to evaluate the Assistant’s ability to create visualizations based on recipe information previously requested by the user. | |
See the visual representation generated from the Assistant via DALL-E-3 based on the textual prompt generated from GPT4: Envision a warm, inviting plate centered with a golden-brown Cornbread-Crusted Turkey fillet, its crunchy exterior hinting at the tender, juicy meat within; Next to it lies a vibrant and colorful Autumn Salad, a bed of mixed lettuce greens punctuated by the bold reds of dried cranberries and the crisp green of thinly sliced Granny Smith apples; Scattered on top are earthy, chopped walnuts and the delicate shimmer of unsalted sunflower seeds, offering both texture and taste; The salad glistens lightly, dressed in a delicate sheen of low-fat raspberry vinaigrette, complementing the robust flavors of the turkey; The plate is a harmonious blend of the heartiness of Thanksgiving and the freshness of autumn, a celebration of both comfort and zest on the palate. 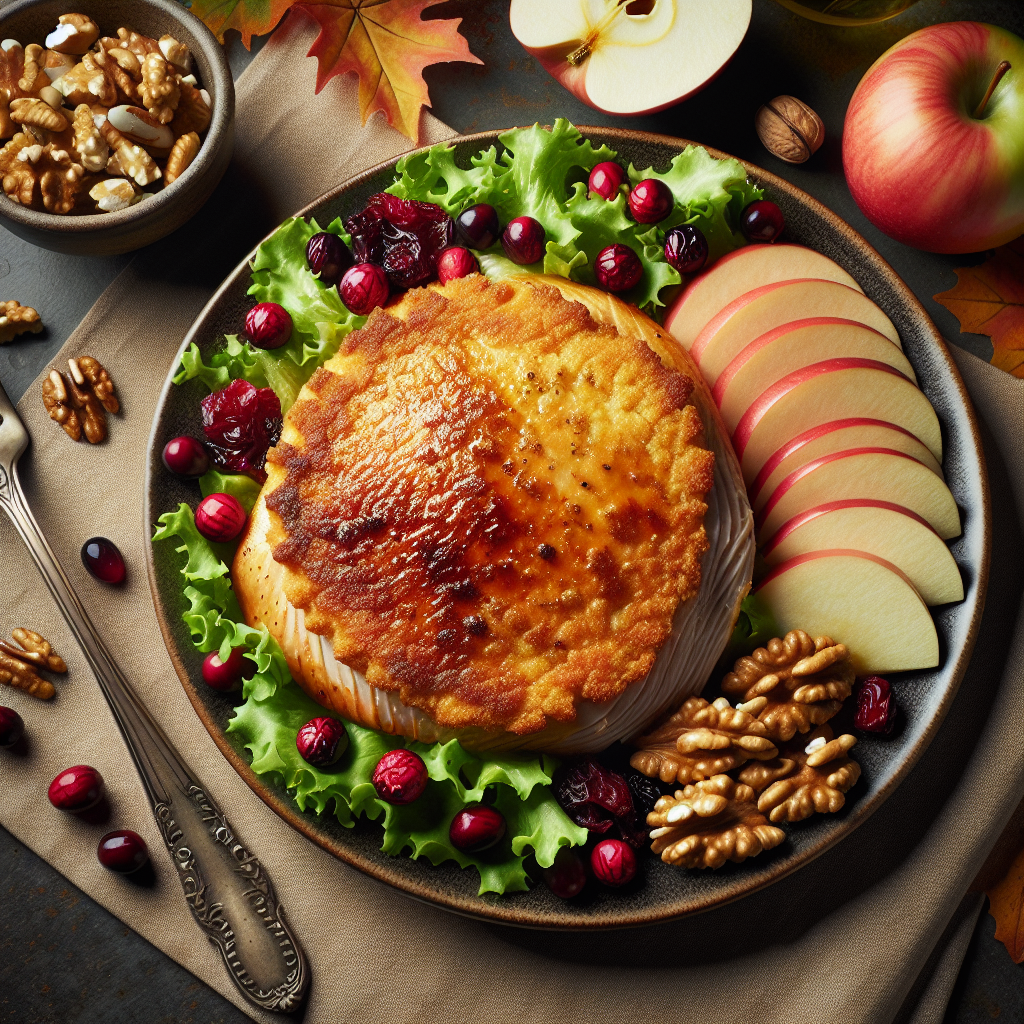 | ||||
| 4 | 👩🏻🍳: Oh that is very nice. How many calories per serving, including the autumn salad and the cornbread crusted turkey? | 🔮: The combined total calories per serving for the Autumn Salad and the Cornbread-Crusted Turkey is 395 calories. | This query is designed to assess the Assistant’s proficiency in extracting information, applying logical reasoning, and performing basic mathematical calculations. | |
| 5 | 👩🏻🍳: Can you give me a breakdown of how the total calories per serving is calculated? | 🔮: Certainly! Here’s the breakdown of how the total calories per serving is calculated for the combination of Autumn Salad and Cornbread-Crusted Turkey: [Calorie breakdown] | More evaluations on the Assistant’s logical reasoning and mathematical skills. | |
| 6 | 👩🏻🍳: Nice. Can you help me create a grocery list for making the autumn salad and the cornbread crusted turkey? | 🔮: Absolutely, here’s your grocery list for making the Autumn Salad and the Cornbread-Crusted Turkey: [Grocery list details] | This query aims to evaluate the Assistant’s ability to comprehend and summarize information based on its previous conversation history with the user. | |
| 7 | 👩🏻🍳: Thank you! Happy Thanksgiving! | 🔮: You’re welcome! If you need any more help in the future, feel free to reach out. Have a wonderful Thanksgiving and enjoy your delicious meal! | Assess whether the Assistant can respond politely and meaningfully to the user’s casual conversation. |